Shades of Monet?

Aurora and I have been exploring the Georgia/Florida border; looking for inspiration. We stopped in the Okefenokee NWR – but with a dog in tow weren’t in a good way to go into the swamp. (You have to canoe and even though Finn is a big dog, he is “munchable” by Gator standards.)

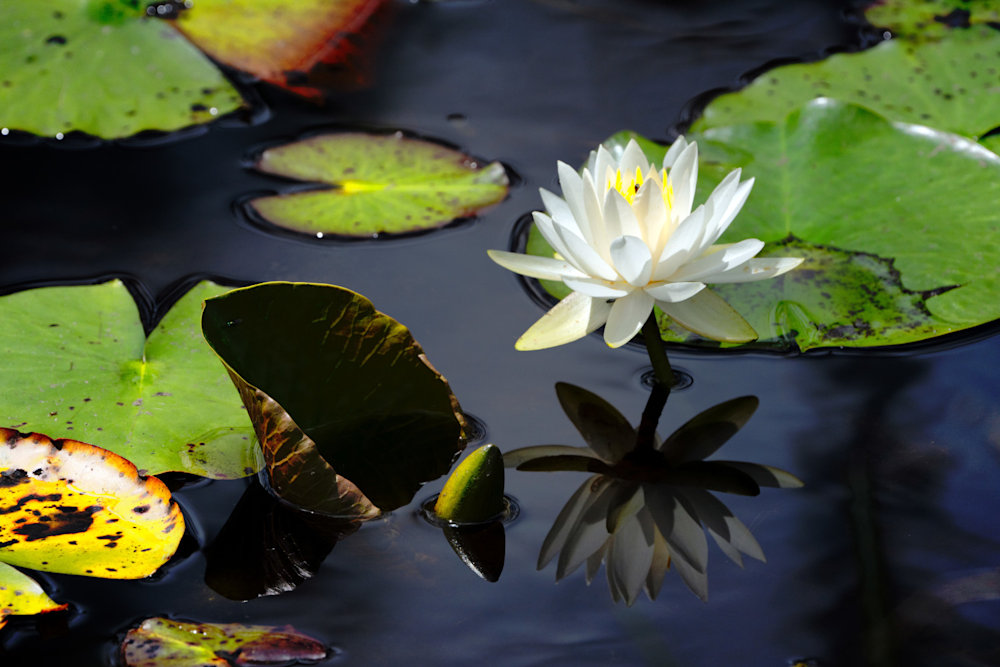
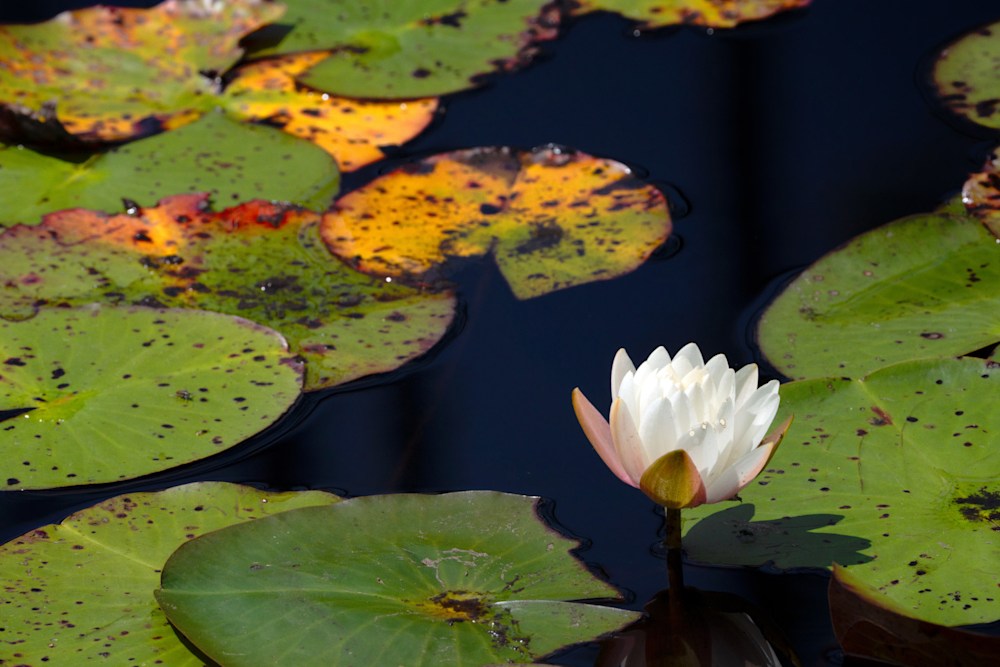
Nonetheless, there are opportunities to see flowers and ‘gators outside of the deep swamp.

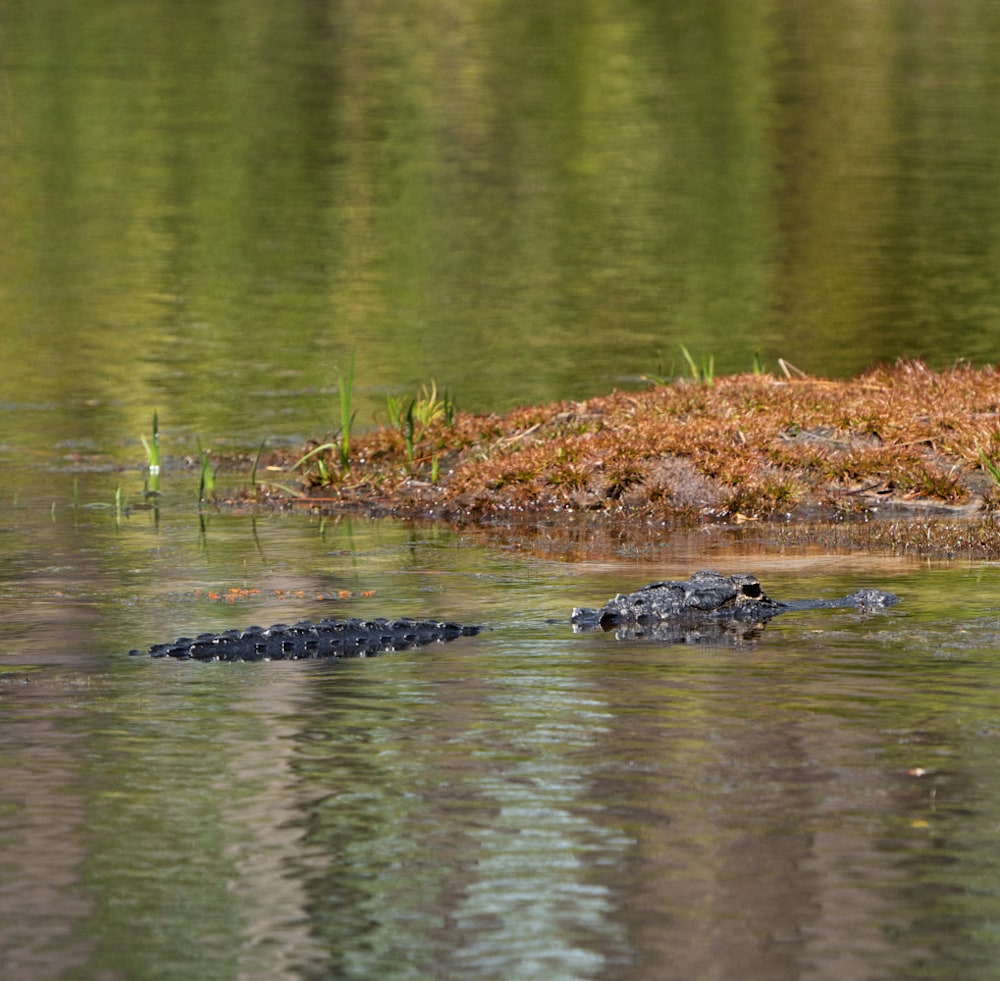
It wouldn’t be the Okefenokee without one of these. 

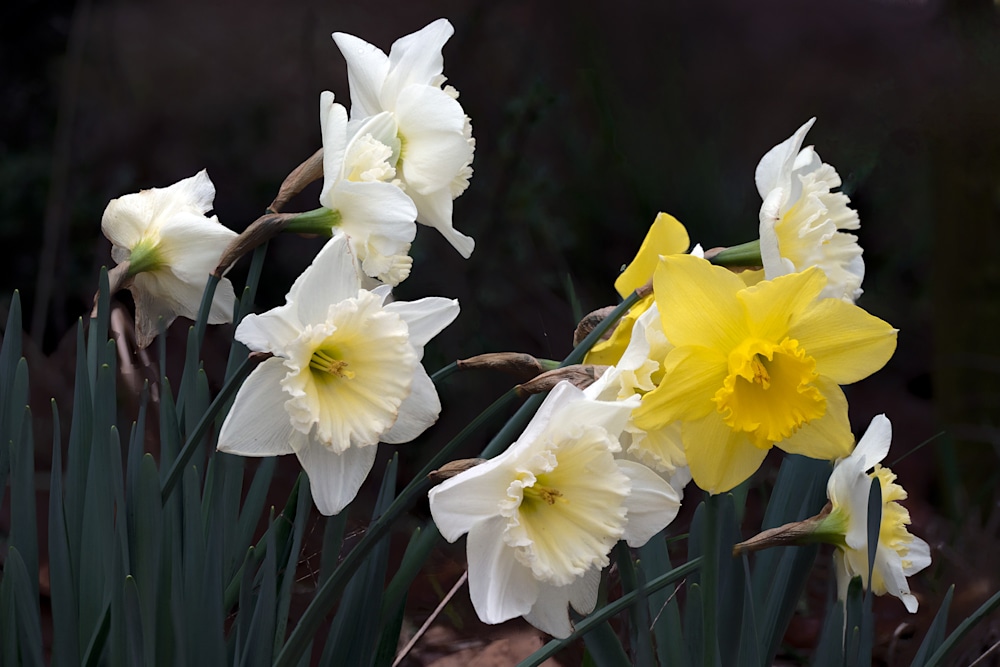
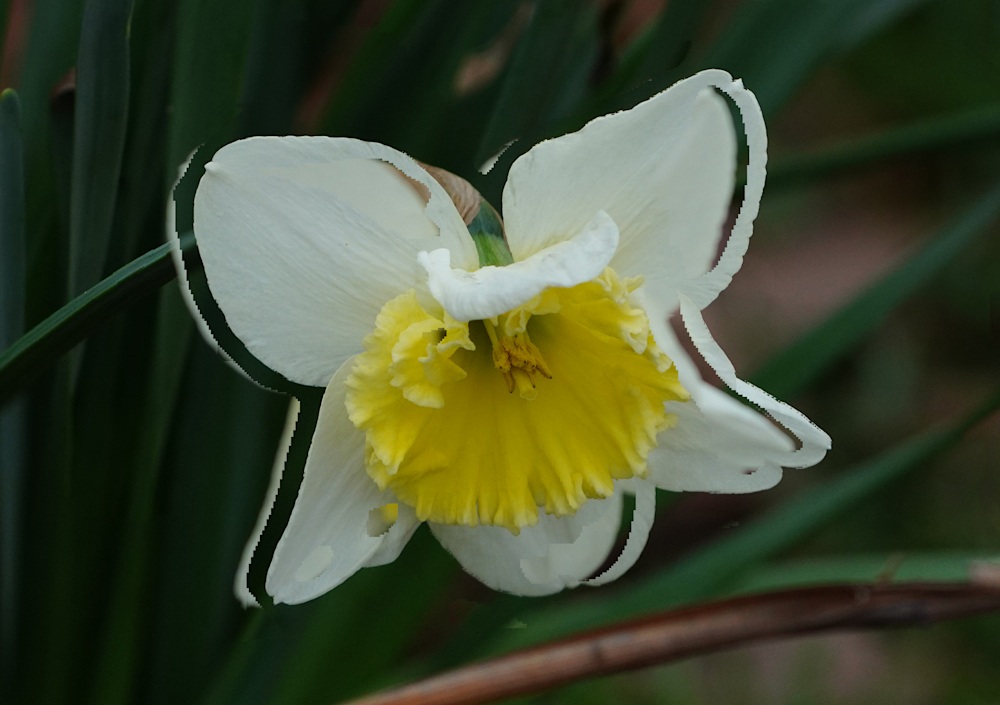
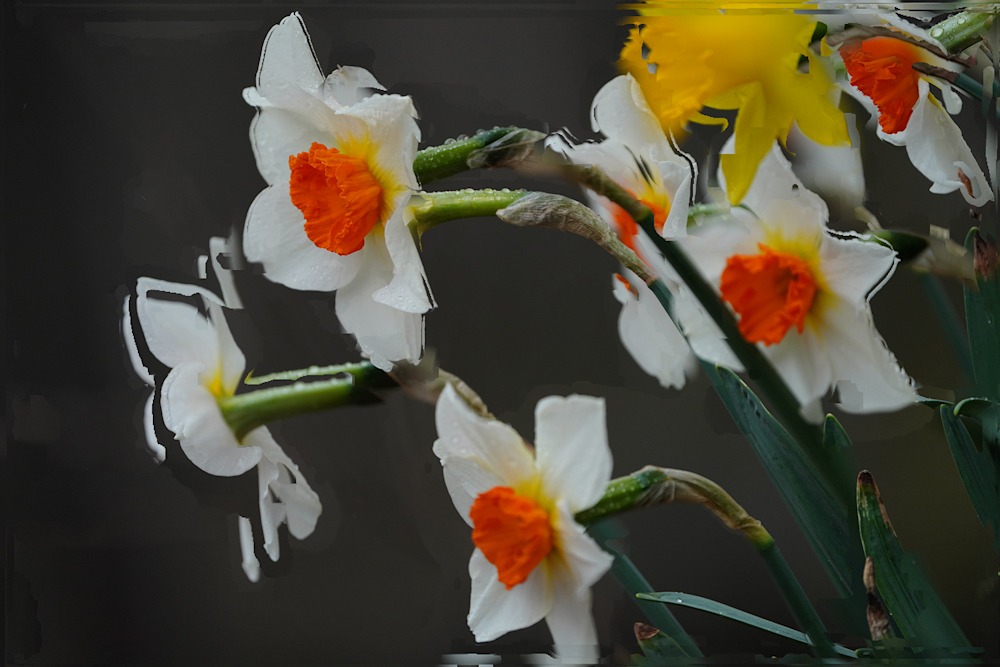
A few technical details

I’m somewhat proud of these photographs. One of my favorite tricks is to use a long lens (600mm) to get the image. You’d think a “normal” lens of 50mm or so would be the way to go, but that will distort the image. Basically, if you get close enough for the flower to be large, then you’re so close that the perspective is warped. And unlike star trek, warping isn’t a good thing, unless you’re doing it for a reason.

I processed the image in photoshop by dividing into layers and adjusting each layer individually. For these images, I used three layers: the flower, the black water, and the rest. 

Not bad if I say so myself.

Layers, Layers, Layers

How I go from a raw image to a photograph in 42 easy steps.
There’s a neat trick in photoshop (and gimp) that makes it much easier to adjust photograph intensity and get the image you want. Normally, you would select a color range or a subject, possibly adjust the selection and then use image tools to adjust the image bit by bit to get what you want. This works well when there isn’t much to change, but it’s very hard to backtrack and readjust things because the selection will change after you’ve changed the image. It’s surprisingly easy to go off the deep end and have to start over, again.
Here’s an example I just put up on our website. The original is below:
It’s a bit flat. Pretty enough, but flat, and grey, and not very interesting.
I divided this into four layers: sky, trees, shadow, and rocks (well everything else). Then I could adjust these independently. The sky gets darker, the trees more saturated, the rocks more intense, and the shadow lighter.
Suddenly it has a bit of pop.
I’m still not sure anyone who isn’t a geologist will really like it, but it is a much improved photograph. (I also had to remove some specks in the sky. I must remember to clean my filters more often.)
Here’s another example. This one is St Catherine’s chapel in Abbotsbury UK. The original is bluh and distorted because I’m looking up at it.
Three layers are what’s needed: the chapel, the sky, and the ground. I darkened the sky, slightly brightened the building, and adjusted the ground. Photoshop has a perspective warp and I used that to straighten the building. Because of the warp, I had to crop a bit.
It’s a much more intense and almost frightening building now. I could probably adjust it a bit more (I wonder if a lighter building would be good), but as it is, I almost expect a spectral friar to gaze malevolently from the tower or perhaps a hapless abbot to rise from his grave at night and pursue the living.
Not that any of this will happen. Abbotsbury is a delightful English village and things like that just don’t happen.

For more examples please see http://www.robertharrisonfineart.com

Focus Stacking for Fun and Profit

I’ve been playing with focus stacking because it can result in spectacular results.

The sharpness and three dimensionality of this image are a combination of using a telephoto lens for a flat perspective and focus stacking to generate the depth of focus. 

It can also fail spectacularly.

and

There are a couple of simple ways to fail:

  • Move the camera. Ideally, you would use a tripod, but I can usually hold the camera still enough. Especially if I lie on the ground and brace like I was doing target shooting. 
  • Use too few focus layers. Nothing like having blurry stuff in the middle.
  • Let the subject move. Windy days are heck with flowers. 
  • Align Jpegs rather that raw images. Jpeg images will vary in their color normalization and will generate odd color patches in the output. You can spend some time blending those by hand, or you can use the raw data which should have constant normalization. 

It works surprisingly well when you get it right. I’m looking forward to trying this with landscape photography. The allure of a sharp, sharp foreground and background is hard to pass up.

For more of my work please see www.robertharrisonfineart.com