Gear review, trail runners and the Talon 44.

You may have noticed some of the pictures I’ve posted. At least I hope you have. Most are not from places you can easily drive to.

DSC_0910 The road on this Welsh mountain isn’t for cars. Not even those little tiny ones they drive too fast and on the other side of the road in the UK.
IMG_0865 This view, on the AT in North Carolina, isn’t on the road either.

So I tend to walk. Which means I wear shoes. I used to wear hiking boots.

2016-08-17 17.14.47
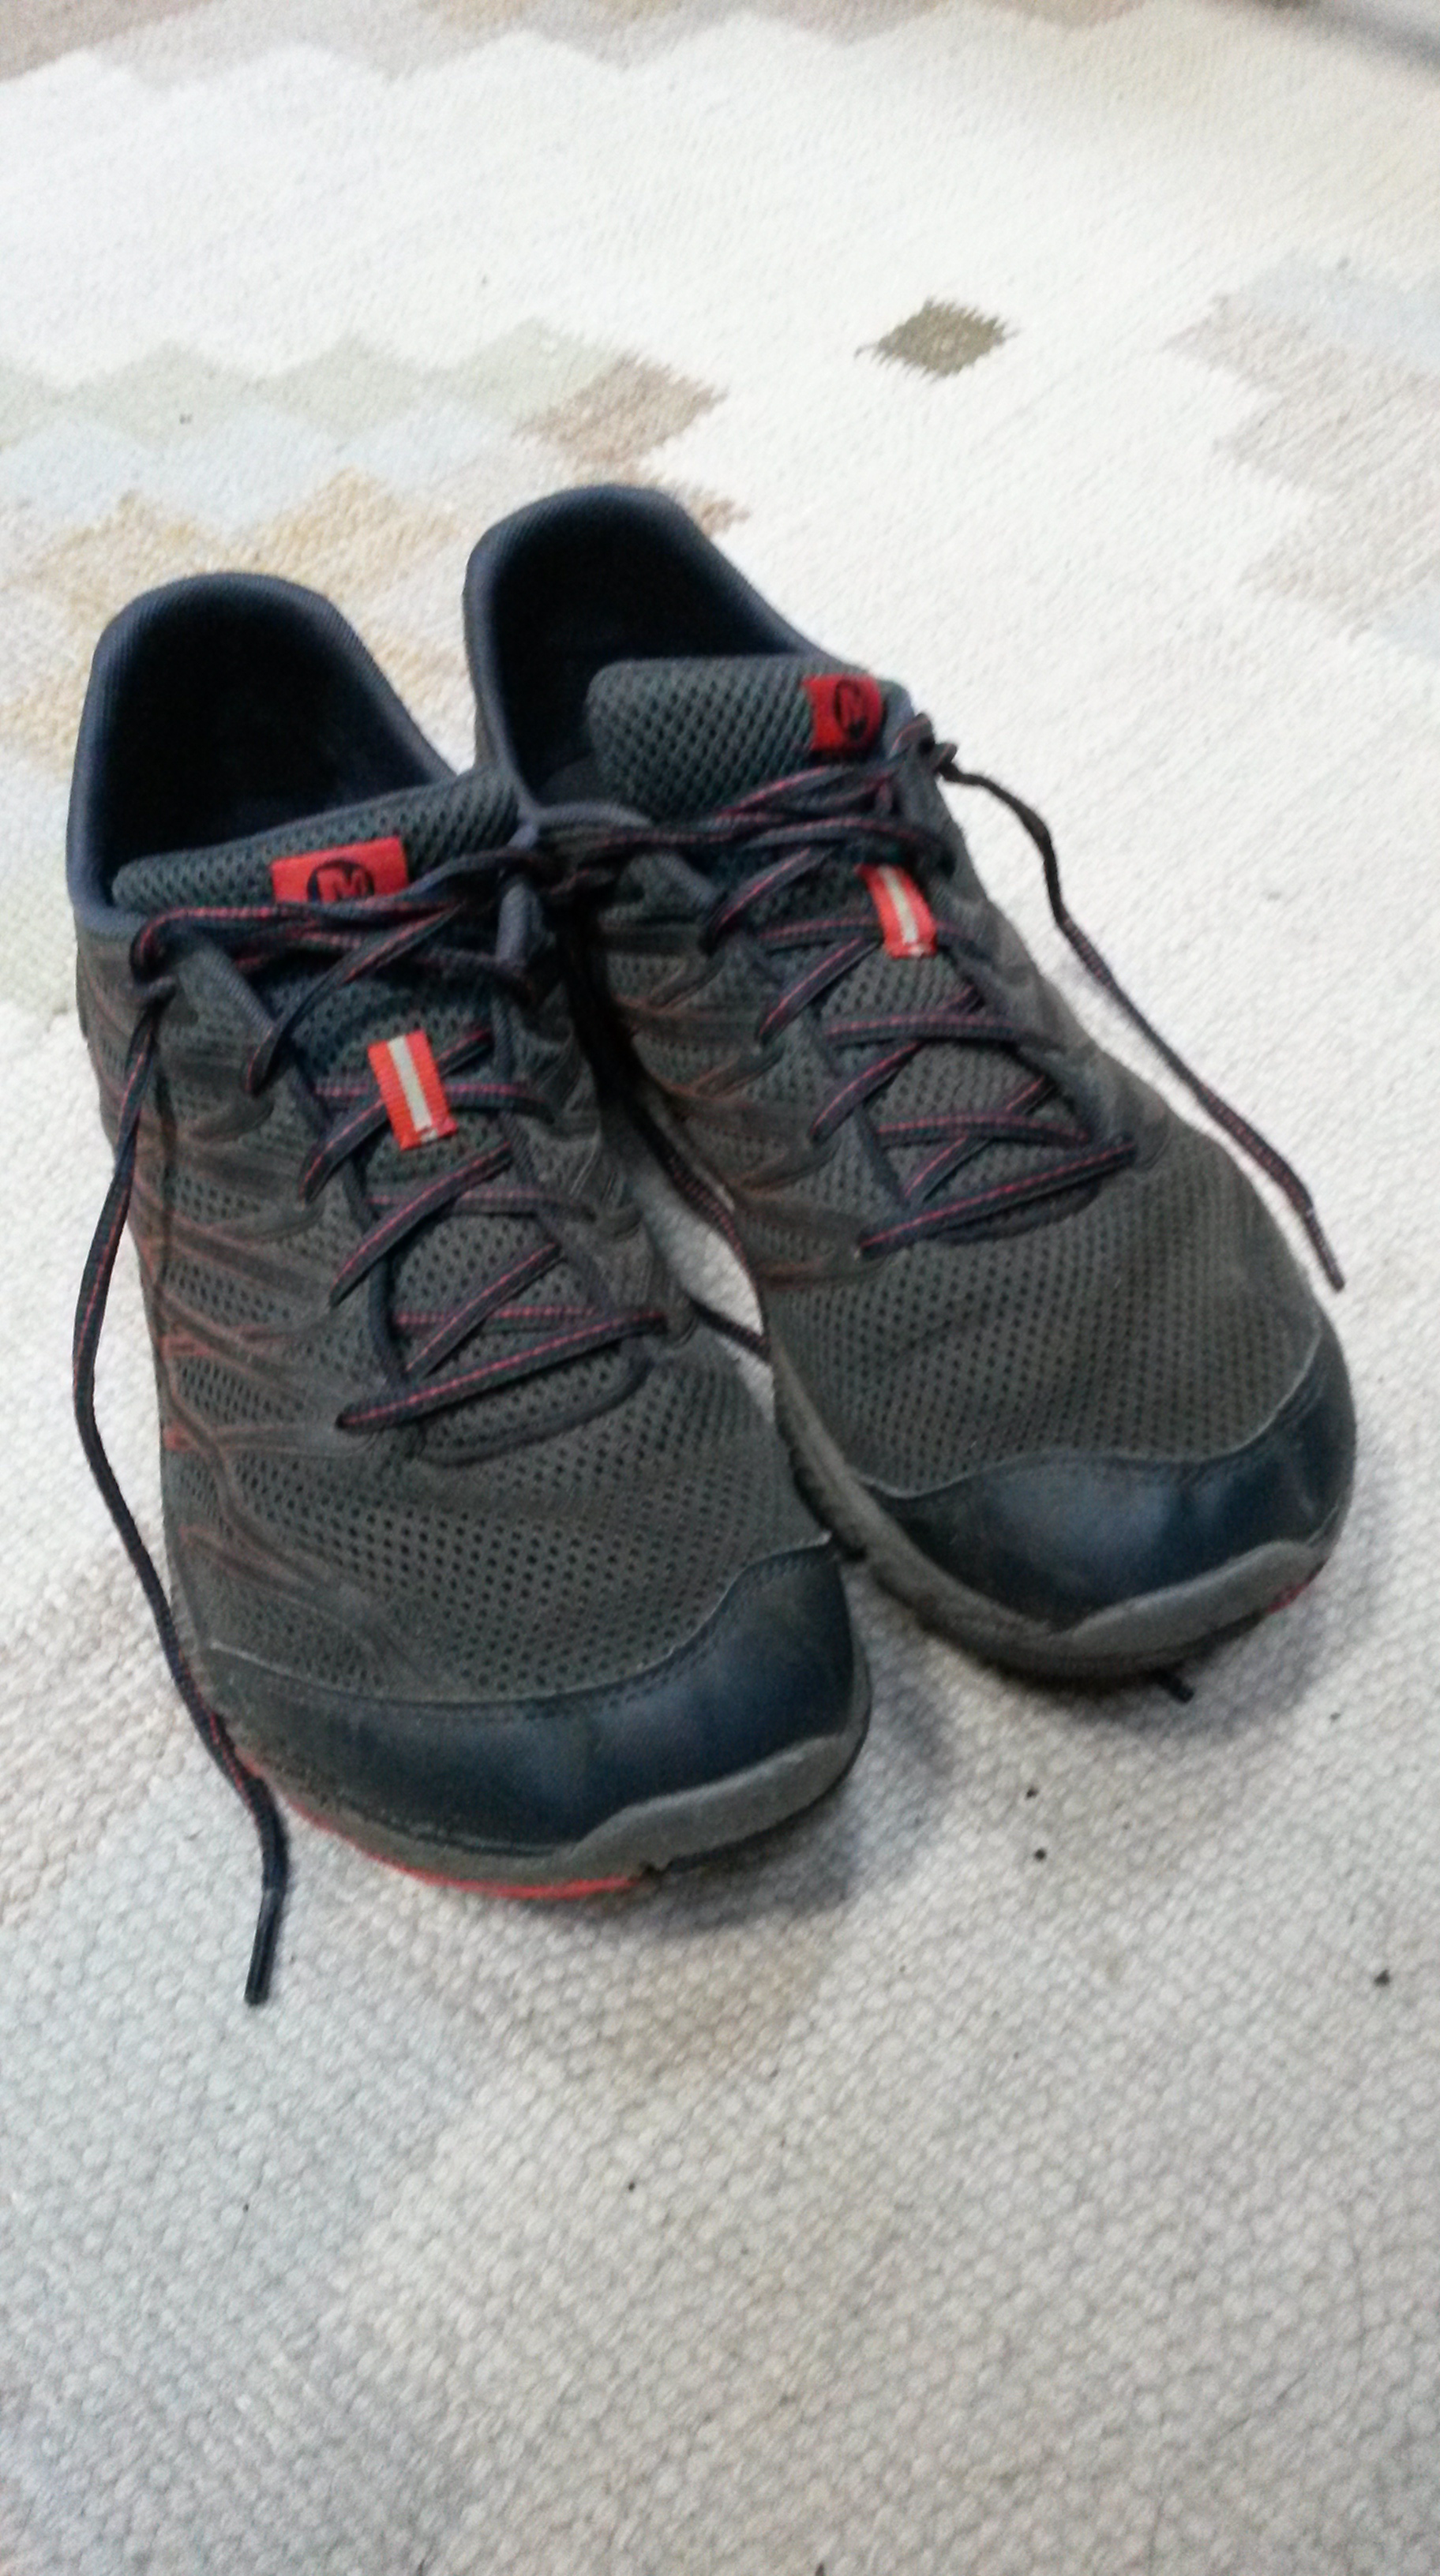
These are Merrell bare access 4 trail runners. Ones that happen to be used and peat-stained. It doesn’t look quite as pretty as the catalog image. I’ll typically wear only a thin pair of liner socks. There are two approaches to keeping dry feet. Do and don’t. In reasonable 3-season hiking the best approach is to let your feet get wet and then wear gear that dries quickly. These are laced with a “heel lock” which holds them on tightly without requiring extraordinarily tight lacing. It also means that the backs of the shoes don’t wear out and break down. Most trail runners wear out quickly, so I only wear these for walking. They have a thin vibram sole. Mine don’t slip when they’re wet, which is good. Not just good but necessary. The thin sole is a blessing and a curse. You can feel your way, it’s almost barefoot. It also means you can feel sharp rocks and gravel.

After a good few kilometres, I strongly recommend them.

I also need a pack. My trusty REI flash 50 finally bit the dust after several years of hard service. I thought very hard about replacing it with a Gossamer gear or similar ultralight pack. (I have and love a Mariposa plus.) 2016-08-17 17.15.48Several things made me choose the Osprey Talon 44. It’s made of tougher fabric, it has a top pocket with a key holder, it easily meets airline carry on restrictions, there’s a semi-hidden pocket for passports and spare cash, and finally it carries a reasonable amount of weight without too much effort. This last point is important. I tried an earlier version of Osprey’s breathable frame and it hurt. (This is a personal observation, my son used it for Philmont without any trouble.) Finding where to put water bottles and platypus’s (platypi?) is a little problematic but solvable. There’s even a top strap under the lid so I can drape my raingear over the top and strap it in. It’s definitely big enough for a light-weight backpacker during the three easy seasons.

2016-08-17 17.16.10 
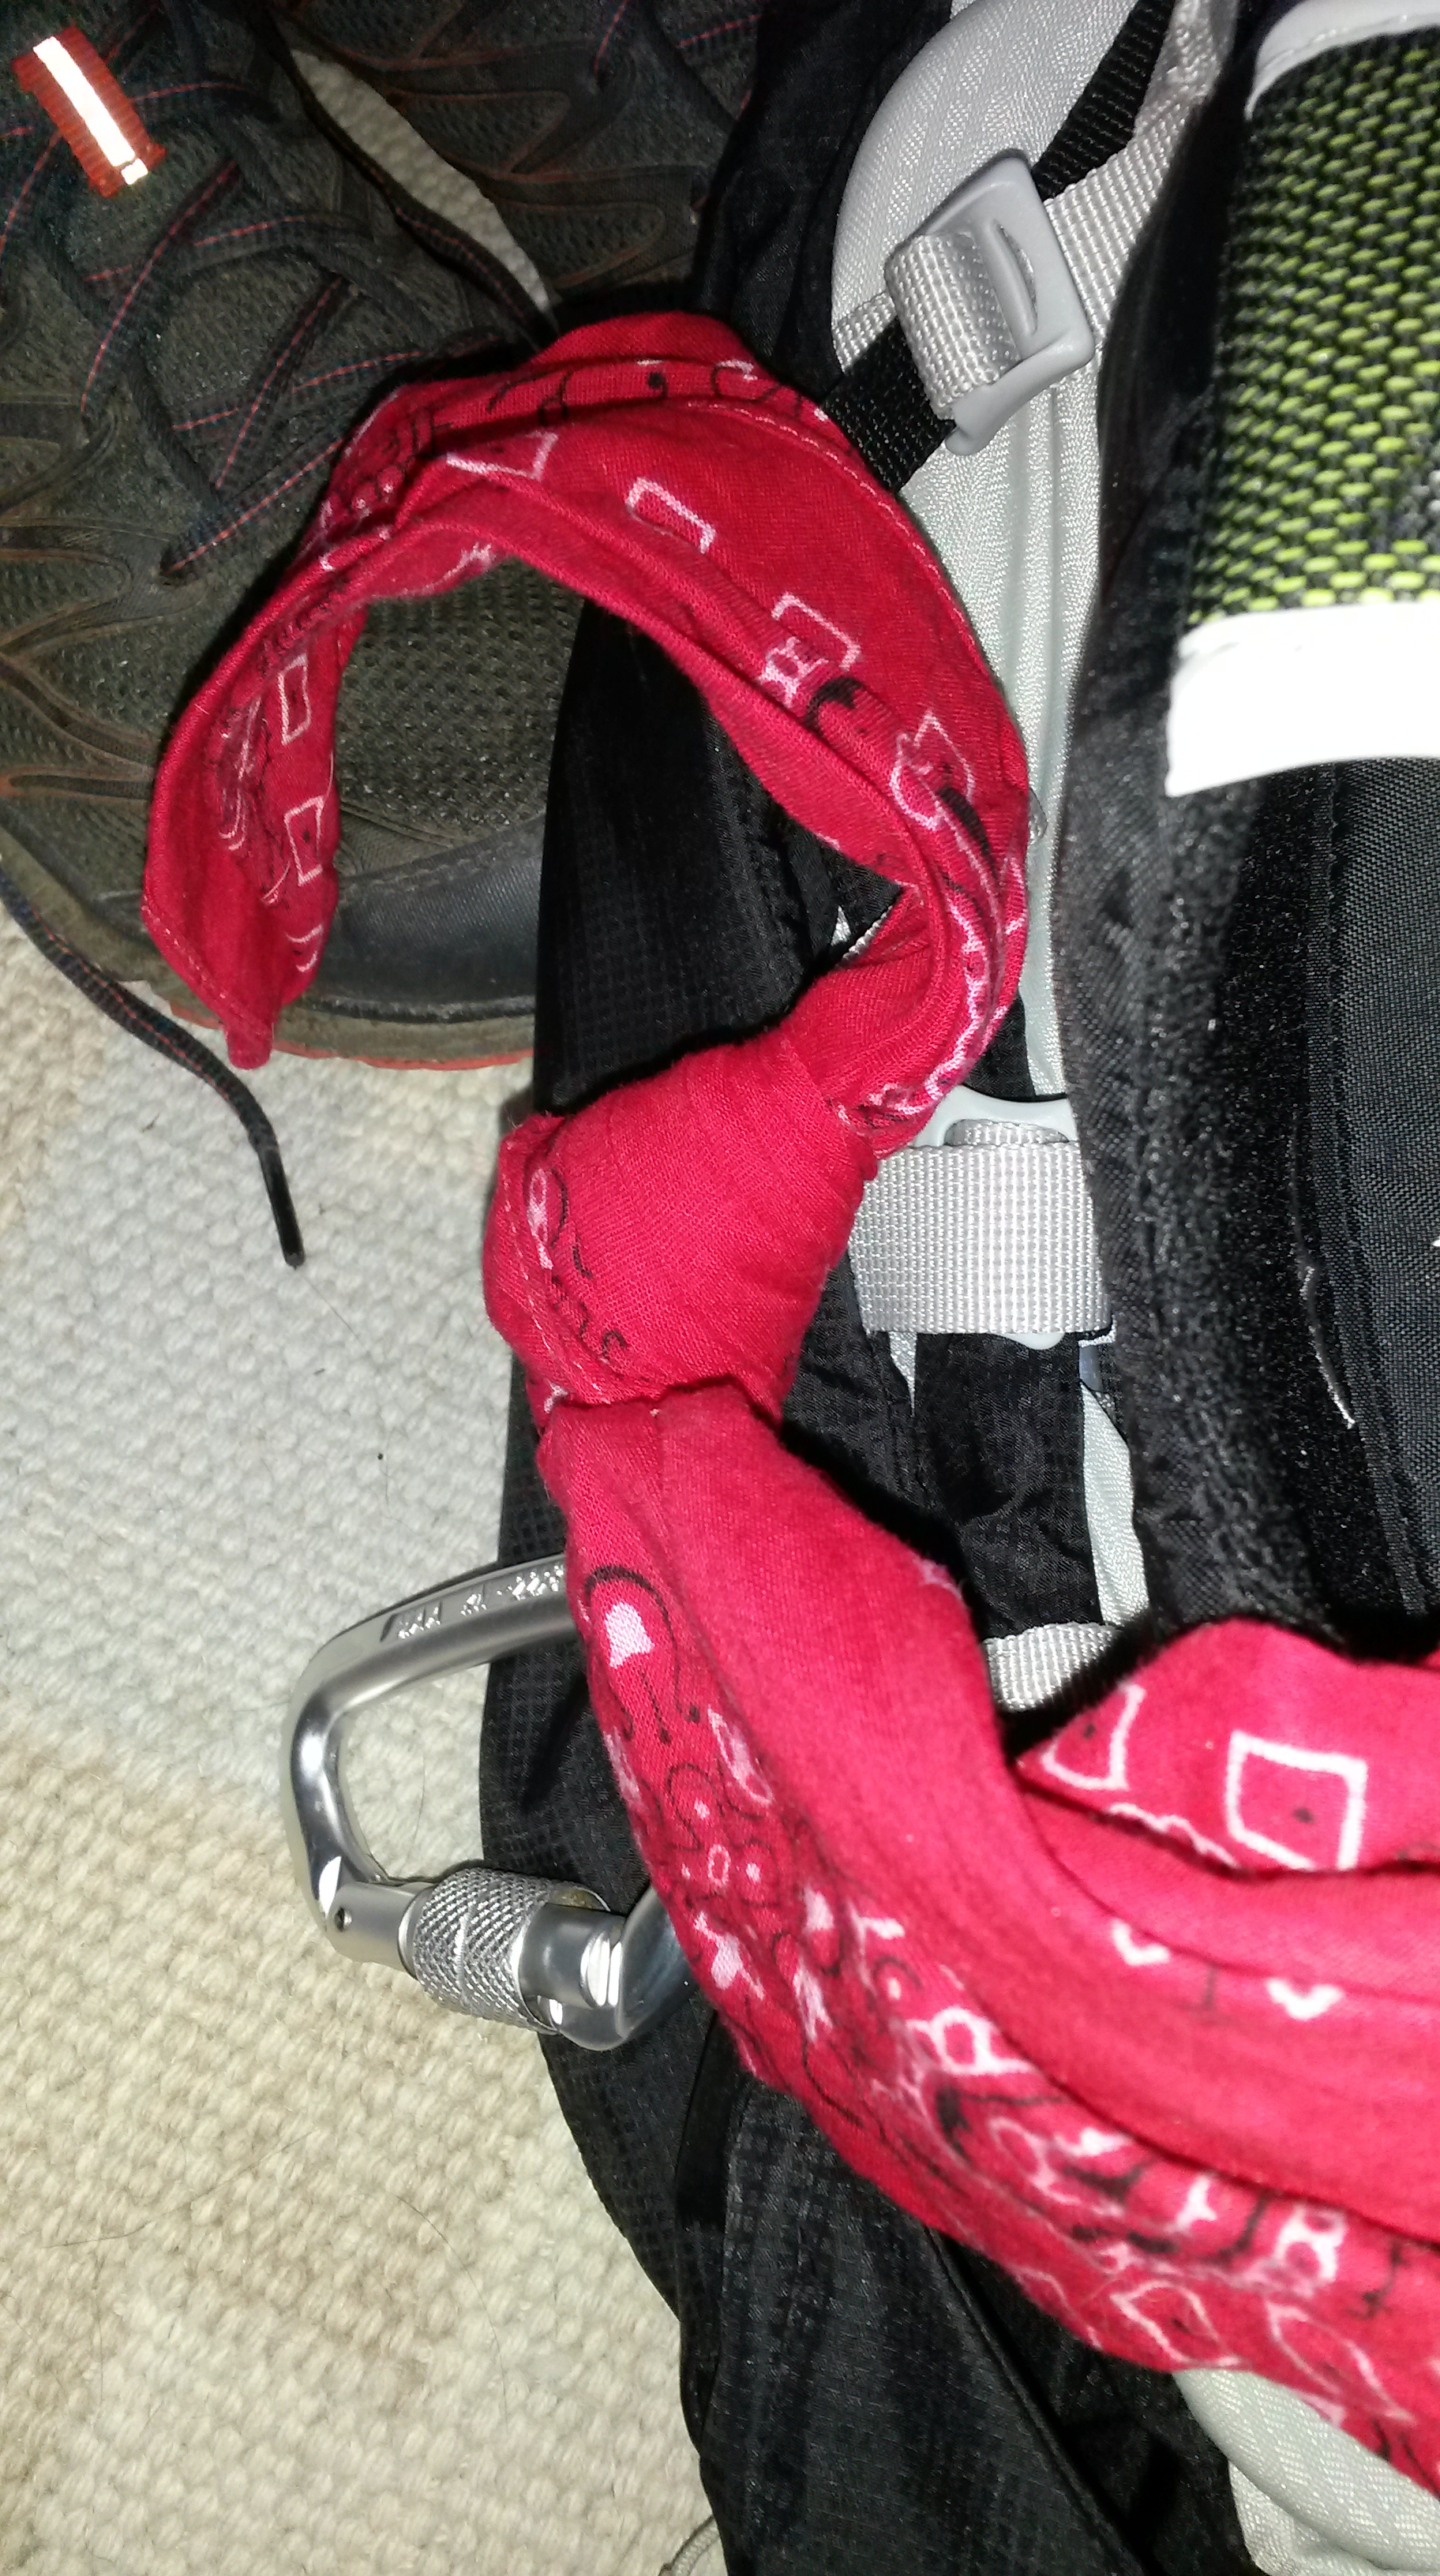
I always add a couple of extras to my packs. A real carabiner – from the climbing section at REI and not a cheap knock off, is essential. I clip my walking sticks and map case to it. It can also double as a pulley when I hoist my pack in bear country. This carabiner is a locking one which is better for my use than a clip one because it won’t accidentally clip on to things. The other thing is a bandana. Cotton might kill, but a bandana is a life-saver. A pot holder, an emergency hat, when soaked in water it can keep you cool, and um, is useful for washing those delicate areas when they start to chafe. I also tie it to the pack I’m using as sort of a badge of honour.

Happy trails.

My 5 top books & why #LifeBooksWriting

Five books, Only five books? Only five books!

The most difficult part of this is picking out only five books.

  1. Roughing it – Mark Twain

This is Twain’s first real book. By the time it was published he’d written newspaper copy, become a well known spoken humorist, and published a number of short pieces of humour. He was a newspaper correspondent at the time. It describes his journey from an ex-confederate guerrilla (barely mentioned) to a successful speaker on the verge of a successful career. His gift for dialog and digression is just starting to strut its stuff. The pacing is a little slow for modern audiences, and there are a lot of horse jokes that don’t make much sense today, but it’s a great book. It’s also my favourite book to take backpacking because it withstands many re-readings under an led headlamp.

  1. Pride and Prejudice – Jane Austen

This is nearly the perfect novel. Anyone who has any pretense of writing regency romance had better be familiar with it. I could have put in a Georgette Heyer novel, but Austen’s characters are much deeper and her ear for dialog much stronger.

  1. The Forever War – Joe Hadleman

I met this book at college as an undergraduate. It’s innovative, anti-war and treats the effects of relativity in a more realistic manner than most. I also remember it because the good friend who showed it to me was run over while bicycling by a drunk shortly afterwards.

  1. The Blessing Way – Tony Hillerman

I could have picked any of his works. Their cultural sensitivity is fantastic, and they describe New Mexico to a ‘T.’ As an author, he was especially skilled at building a sense of menace and evil with tiny little hints as the story progresses.

  1. The C Programming Language – Kernighan and Ritchie

Sorry about this, but this book set me on the path from experimentalist to computer scientist. I bought myself a copy of the first printing of the first edition and dedicated my birthday to learning the language. The idea of using structs (an ancestor of objects) to extend the language suckered me into software engineering and almost literally made me what I am today.

Simplified care of Cast Iron Cookware or a Few Myths Removed.

Myths about cast iron are some of the things I run into as a trainer of scout adult leaders. Which is a bit of a shame. If you understand the chemistry, then care is easy.

The basic chemistry can be summarized as follows

  1. The black coating is Iron Oxide (Fe3 O4 and others).
  2. Iron Oxide doesn’t react easily with water and sugar.
  3. Iron Hydroxide (Rust, Fe(OH)3 and others) reacts easily with water and sugars
  4. Iron Hydroxide can be converted with heat, a carbon source and a somewhat anaerobic environment, into iron oxide

I am being a bit simplistic here, but it’s accurate enough.

The recommended care cycle for cast iron then makes sense. After cooking, use water to clean the debris. Really stuck on crud can be removed with boiling water. After the pot is clean, coat it in oil and heat.

What’s going on?

You’re removing the debris, and then regenerating a layer of iron oxide. That simple.

Cool.

What happens when food sticks?

Sugar in the food reacts with trace amounts of iron hydroxide on the pan’s surface. But, you say, “Meat doesn’t have sugar in it and meat will stick?” The answer is that meat, at least from complex critters (Eucaryotes), is covered in sugars as part of how cells recognize and communicate with each other. Sugars contain alcohol groups (Not ethanol – you won’t get drunk from eating them) which interact with iron in much the same way as water. So you get an Iron-sugar chemical compound, which after pyrolysis (a fancy way to say burning) becomes a sticky mess.

So how do we stop the sticking?

Heat the pan first. This drives off much of the remaining water, converting the trace amounts of hydroxide back to oxide. A coat of oil also helps because it keeps the sugars in the food from contacting the metal surface.

Why shouldn’t I use soap?

Two reasons.

First, I will remove some of the protective oil and expose the more reactive iron to water. Thus generating hydroxides. I see this when I make a white gravy (Milk based) where the natural detergents in the milk strip some of the oil away. There’s usually a thin coating of the brown hydroxide after I’ve cleaned the pan. Coating the pan with oil and heating returns it to normal.

Second, the detergent mixes with the oil. You won’t necessarily taste it, but detergents have chemical groups that attract water and sugars. Therefore the detergent helps the food to stick.

Conclusion

Note that I haven’t given highly specific temperatures. Things like “sandblast and put in a 305 degree oven for exactly 45 minutes.” That’s because they are not necessary. Keep it dry, keep it oiled, and avoid detergents. Remember you’re trying to build up a layer of iron oxide and you’ll be fine. Not only that but your great-grandchildren will thank you when they use your pan.

Fall Birds

I wanted to try an inexpensive mirror lens with a 2x extender for nature photography. It’s not bad, but not great either. The acuity is not as good as I’d like, and the depth of focus is paper thin. But when it works it’s pretty good.

DSC_0102DSC_0097
These seagulls were hunting shad on the far side of the lake, about 700 meters away.
DSC_0129

DSC_0135
The flat field of focus can be really nice. I like this back-lit grass and weeds.

all photographs (c) 2015 Robert W. Harrison

How to pretend you know how to draw.

These sketches make it look like I’m one heck of an artist, don’t they?
Ha! There’s a very good reason I write books. These were done using a bamboo pad and photographs (albeit ones I took). The images are from the UK, on various trips, and other than Jess (the dog) are what you find on footpaths.jess2horsecows2welsh_cat1

I drew on top of the originals, in a separate layer. Neat.

By the way, beware of the cows.

A Fun Thing to do with Young Children

This is a trick we used to do in Cub Scouts:
annotatedbox

Baking in a box. Take moderate-sized box, we usually used one the size used to deliver copier paper came in (24cm x 24cm x 48cm or so). Line the inside of the box and the lid with aluminium foil  (staples are a good way to attach it to the lid.) Put some stones or a tile on the bottom, both to hold down the box and to protect it from the coals. Run a few coat-hanger wires through about 2/3 of the way up to form a rack.

Light charcoal (this needs adult help or supervision), putting about 10 briquettes in an pan. The pan goes in the bottom of the box. When the lid is on the box, the air inside it will get to about 300-350 F (150-200C) which is well below the ignition temperature of paper, but more than hot enough to bake with.  A small tray with cookies or biscuits can go on the rack and after a few minutes will be baked. Since the temperature depends on how well the lid seals (there has to be some leakage to keep the coals burning, but this isn’t usually a problem), the exact baking time and temperature will vary.

Still it’s good fun, requires little advance preparation, and can be put together by 8-11 year old children without much assistance from mom or dad. Beats an “easy-bake” any  day.

Getting Buggy

dragonfly
I’ve taken almost all the pictures on this blog myself. It’s probably worth sharing a couple of tips for catching bugs and critters.
DSC_0009

The first trick is to use the correct lens, assuming you have a camera that can take lenses (The digital SLR’s are now, and have been for several years, more than good enough to be worth it for serious photography.) I use a moderate telephoto (200mm) for insects. It can focus close enough to bring the insect into focus, but lets you stay far enough away to not disturb the critter. I could use a longer lens, but the depth of field is too shallow – which makes it difficult to keep the creature in focus.

DSC_0996

The depth of field can be used to artistic effect, but I’ve found much longer lenses problematic.
DSC_0995
I use a “skylight” filter to keep the lens clean, but don’t bother with a polarizer for these (I do when taking scenery – with a wide angle lens, but that’s a different post.)


%d bloggers like this: